Setting up the Windows Store for Business

- Create an Azure tenant
- Configure Azure AD Connect/ADFS
- Create an Azure Global Administrator
- Setup the Windows Store for Business
- Conclusion
While the Universal app platform on Windows 10 isn’t going to replace legacy Win32 apps for some time, the potential of this platform to improve the way IT approaches application lifecycle management is high. Apps can be deployed, updated and removed without packaging or having to worry about application conflicts. It’s encouraging to see a number of useful enterprise applications available - the future is mobile apps, even on the desktop, so every enterprise should be looking at the Windows Store for Business.
Even if you’re not intending to deliver Universal apps at this time, or even hiding the Store app on Windows 10 desktops, you should configure the Windows Store for Business. This ensures full control over the user experience.
In a previous article, I’ve detailed how to manage the Windows Store experience on Windows 10, and I now want to cover a couple of additional scenarios with Intune and Configuration Manager. The first step; however, is to detail setting up the Windows Store for Business. For any Windows 10 Current Branch or Current Branch for Business deployment, whether Professional or Enterprise edition, this is a key first step.
Configuring the Windows Store for Business (WSfB) in your environment provides control over the Windows Store by enabling a private store within the Windows Store app (Enterprise edition required to hide the public links) and with management tools (e.g. Intune and Configuration Manager) you have the ability to add or remove Universal applications to and from Windows 10. This is just one of a few reasons why I tell anyone who’ll listen that Azure AD is in your future (unless you’re there already) whether you know it or not.
At a high level, the process to configure the WSfB is as follows:
- Create a Microsoft Azure tenant
- Configure a domain
- Optionally, configure AD Connect (or ADFS)
- Create or enable a Global Administrator in Azure AD
- Sign up for the Windows Store for Business
- Configure the App Inventory
I’m not going to cover these in detail but I will cover the key steps and provide links to additional reading. If you already have an Azure tenant configured with a custom domain and AD Connect/ADFS, you can, of course, skip to the Windows Store for Business configuration. All that’s required is user accounts synchronised or federated to Azure AD.
If you don’t have any on-premises identities, then you can create an Azure tenant for Azure AD functionality and skip the steps on configuring AD Connect/ADFS.
Create an Azure tenant
If you’re already using a Microsoft cloud service, such as Office 365, an Azure AD tenant will already exist. Ensure you do not have an existing tenant before proceeding.
Creating an Azure tenant is required because we’ll need to sign in a corporate account that is an Azure AD Global Administrator. Here’s a great article on understanding the requirements and configuration for integrating your on-premises identities with Azure Active Directory.
Microsoft has a short video available that shows the Azure sign up process and the steps are:
- Navigate to the Azure sign up page at https://account.windowsazure.com/SignUp
- Sign in with a Microsoft account. If this is a corporate environment, it may be wise to create a dedicated Microsoft account for this purpose and protect it with multi-factor authentication
- Add personal information such as region, phone details and organisation name etc.
- Verify your identity via phone (an SMS or phone call can be used)
- Add credit card details. It’s important to note here that the card will not be charged until you use a paid tier of an Azure service, so this process can be done without paying Microsoft
- Agree to the subscription agreement, offer details and privacy statement. Be sure to deselect signing up for special offers
Setting up an Azure tenant is quite simple, just be sure to pay attention to the region you’re setting as default (i.e. your sign up region) and the account used to sign up to the service. Once sign up is complete, you’ll have a certain amount of credit to use within Azure for testing.
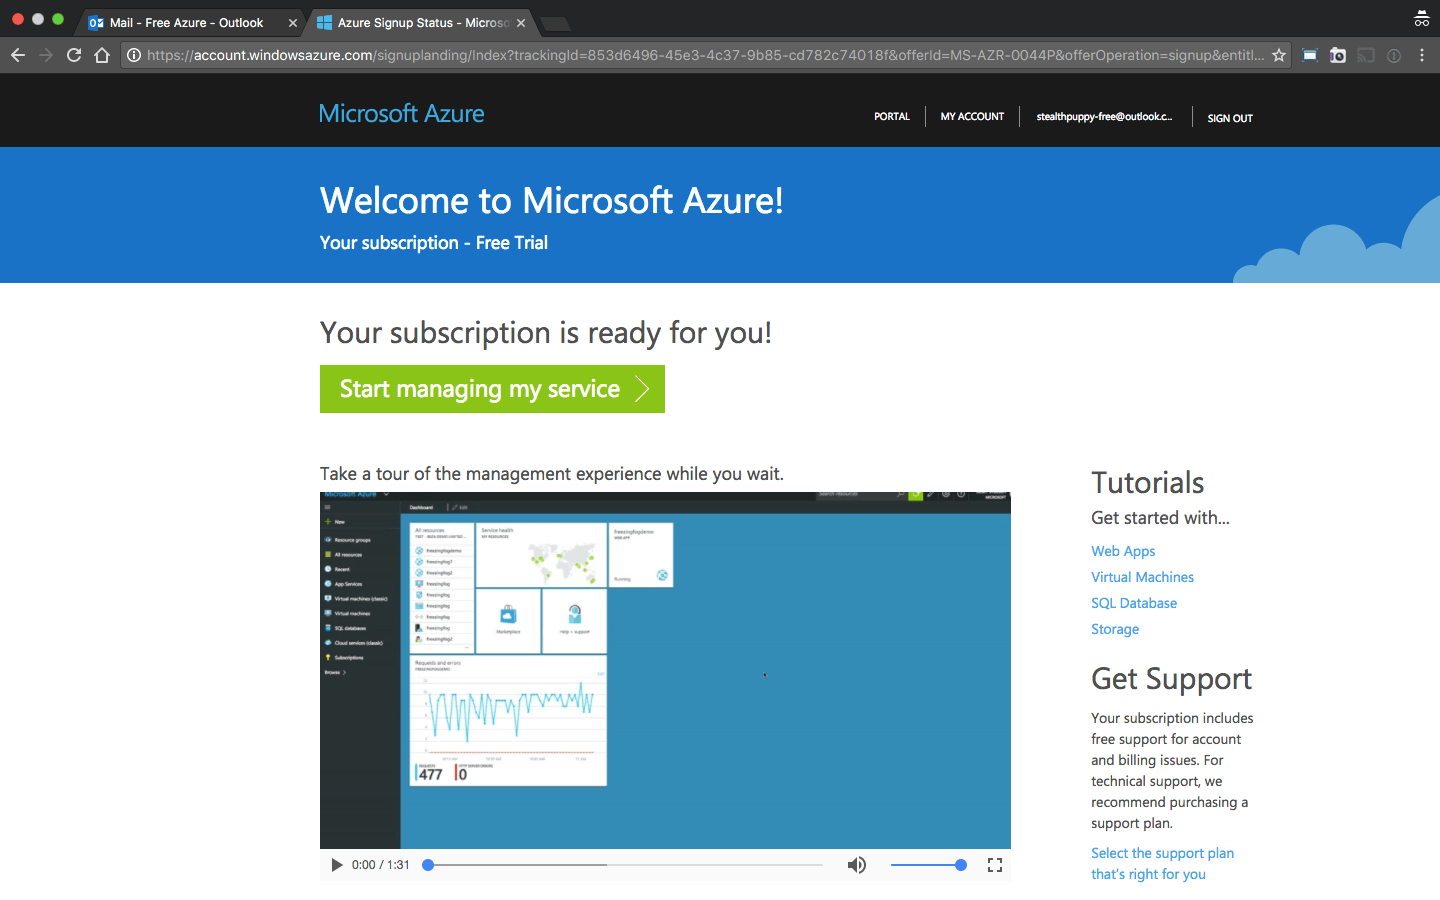
The Azure subscription is ready to use
Before configuring anything else in the new Azure tenant, configure a custom domain. You’ll notice that the default domain will be
Configure a Domain
A custom domain is required to use account within a namespace that better aligns with your corporate identity and you will need to own the custom domain. In my Azure tenant I’m using a subdomain of stealthpuppy.com; however, you may want to use your primary domain to ensure user account names align with corporate email addresses.
Adding a domain can now be done in the Azure Portal (i.e. the Resource Manager portal instead of the old Classic portal):
- Open the Azure Active Directory resource and click on Domain names
- Click Add and enter your domain name
- You will be prompted to verify the domain name by adding a TXT record with provided details. Setting up DNS will differ depending on the DNS provider
- Once DNS is updated, click Verify and you should see that the domain is added
The process for adding a custom domain is slightly different when using ADFS.
At this point, you can make the new domain the primary domain for Azure AD.
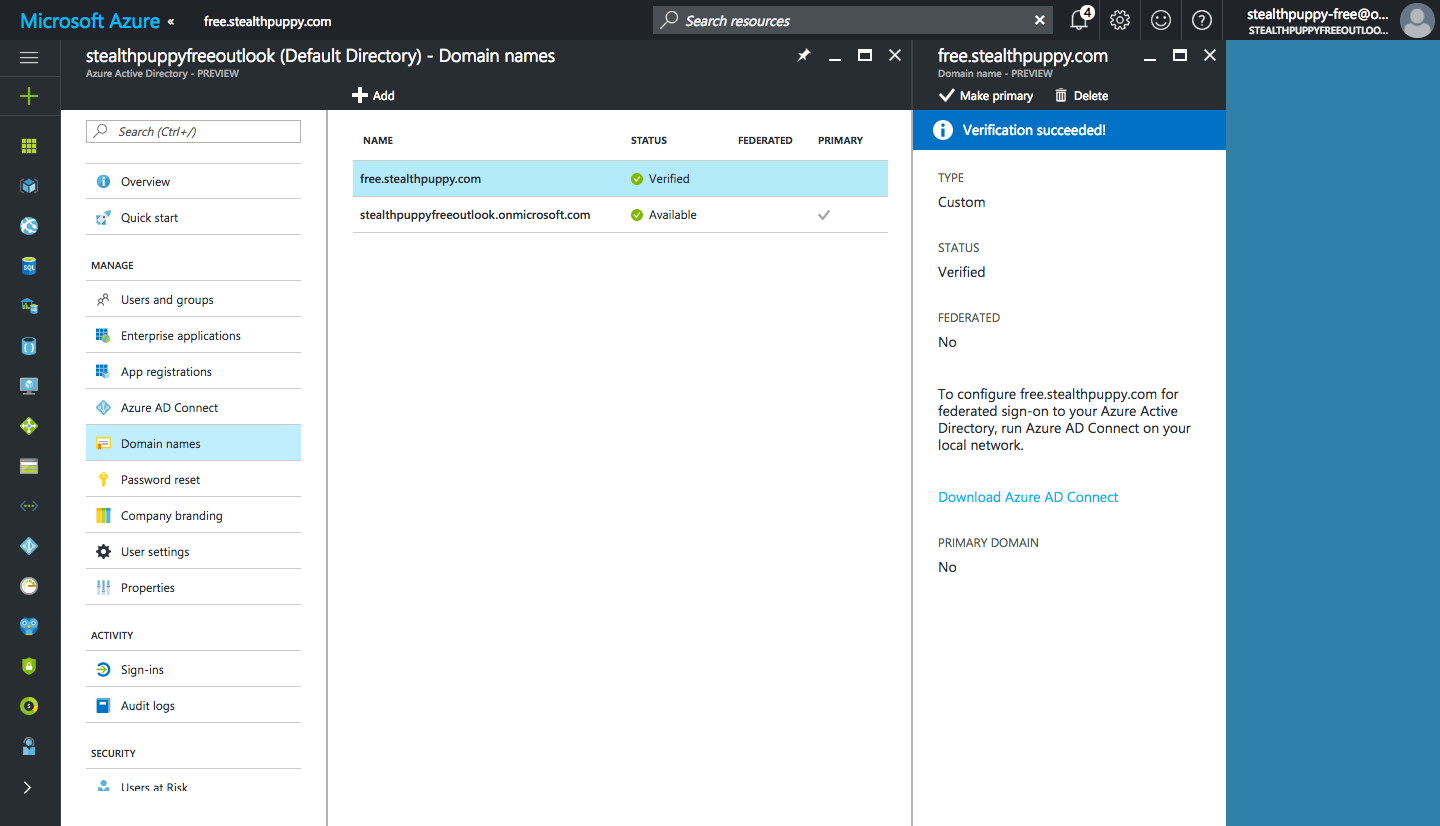
Add and verify a custom domain in Azure
Configure Azure AD Connect/ADFS
Microsoft provides detailed instructions on setting up AD Connect on the Azure documentation site. Exactly how to do that in your environment is out of the scope of this article, but AD Connect to synchronise accounts into Azure AD with the Express setup is the simplest and fastest way to get up and running.
Again, I highly recommend reading this article on integrating your on-premises identities with Azure Active Directory.
Create an Azure Global Administrator
Signing up for or into the Windows Store for Business requires a work or school account, i.e. an account from Azure AD.
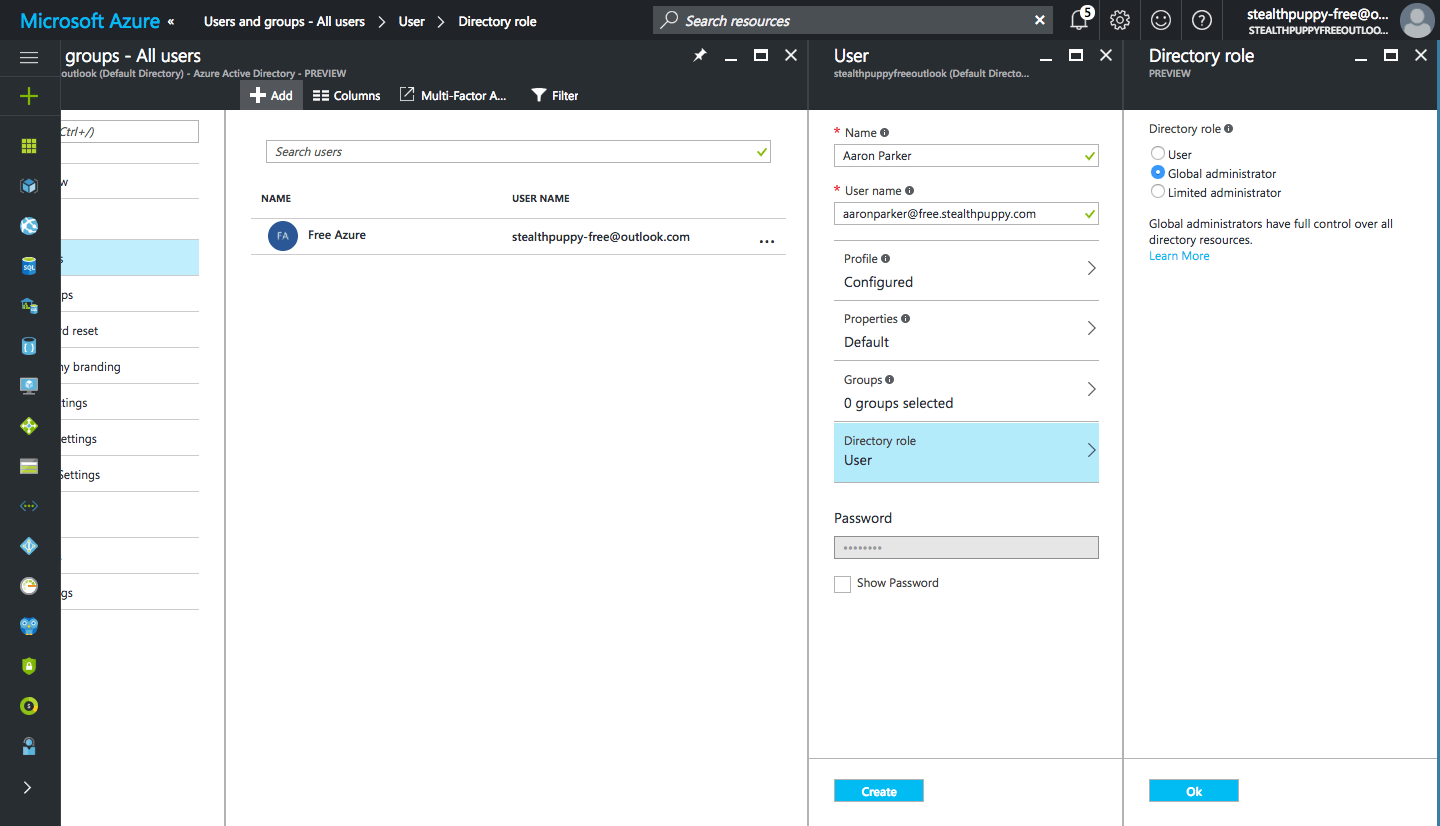
Creating an Azure AD user and assigning a Directory role
Setup the Windows Store for Business
Configuring the Windows Store for Business is very simple
- Log onto the WSfB site with an account from Azure AD
- Accept the usage agreement
- Configure the private store name
- Add apps to your Inventory
Sign Up and Initial Configuration
Logging onto the WSfB site for the first time will bind the Store configuration to your Azure tenant. You can sign up to the WSfB without an Azure AD tenant and you will then be directed to create an Azure tenant; however, creating that first is a better approach.
Navigate to https://www.microsoft.com/business-store and sign in, accept the usage agreement and you will see a basic Store configuration.
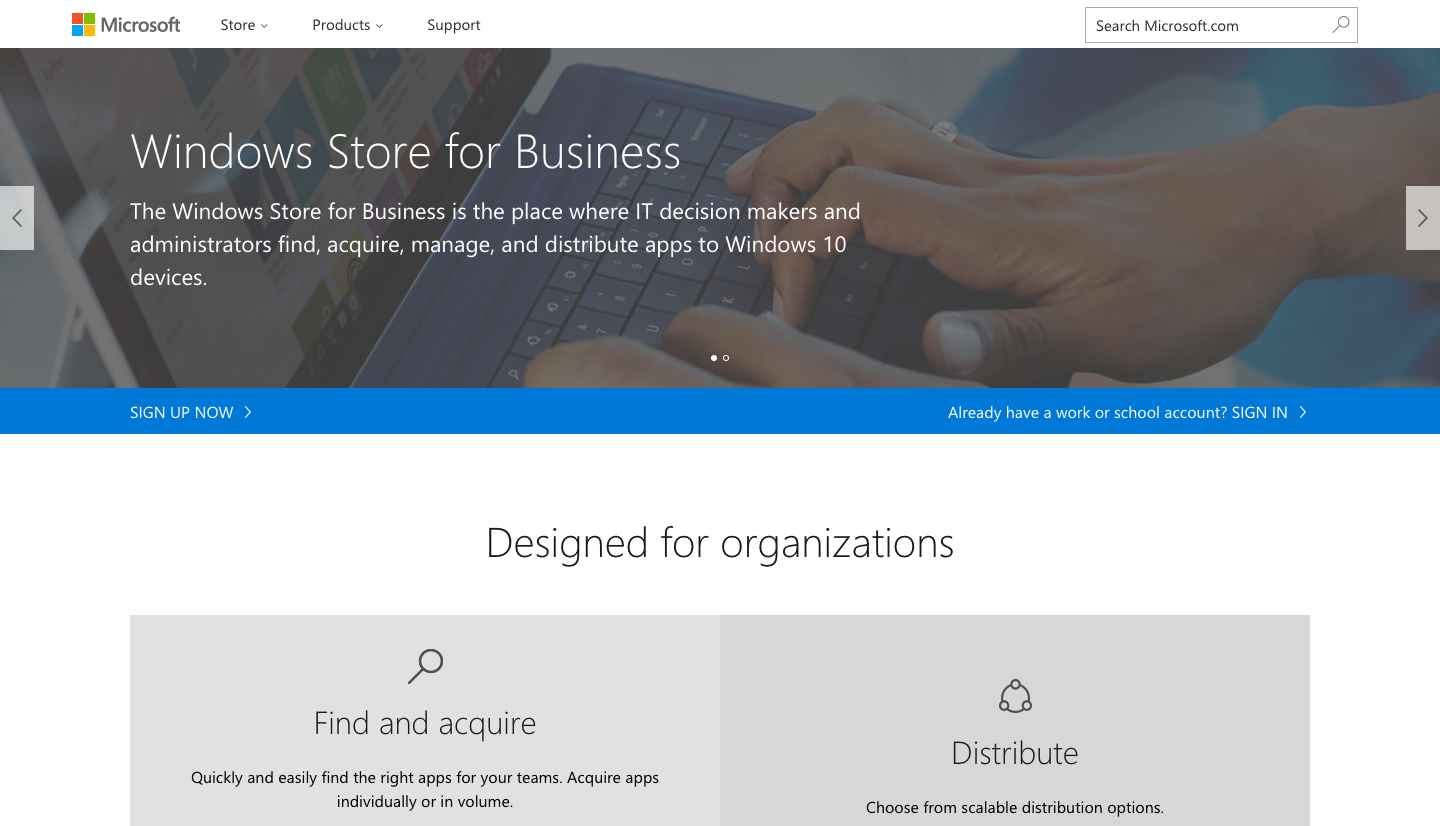
Sign up for the Windows Store for Business
Configure the Private store display name - this will appear in the Windows Store app on Windows 10 devices. Click Settings / Private store. Keep this short, but something that will be clear to users.
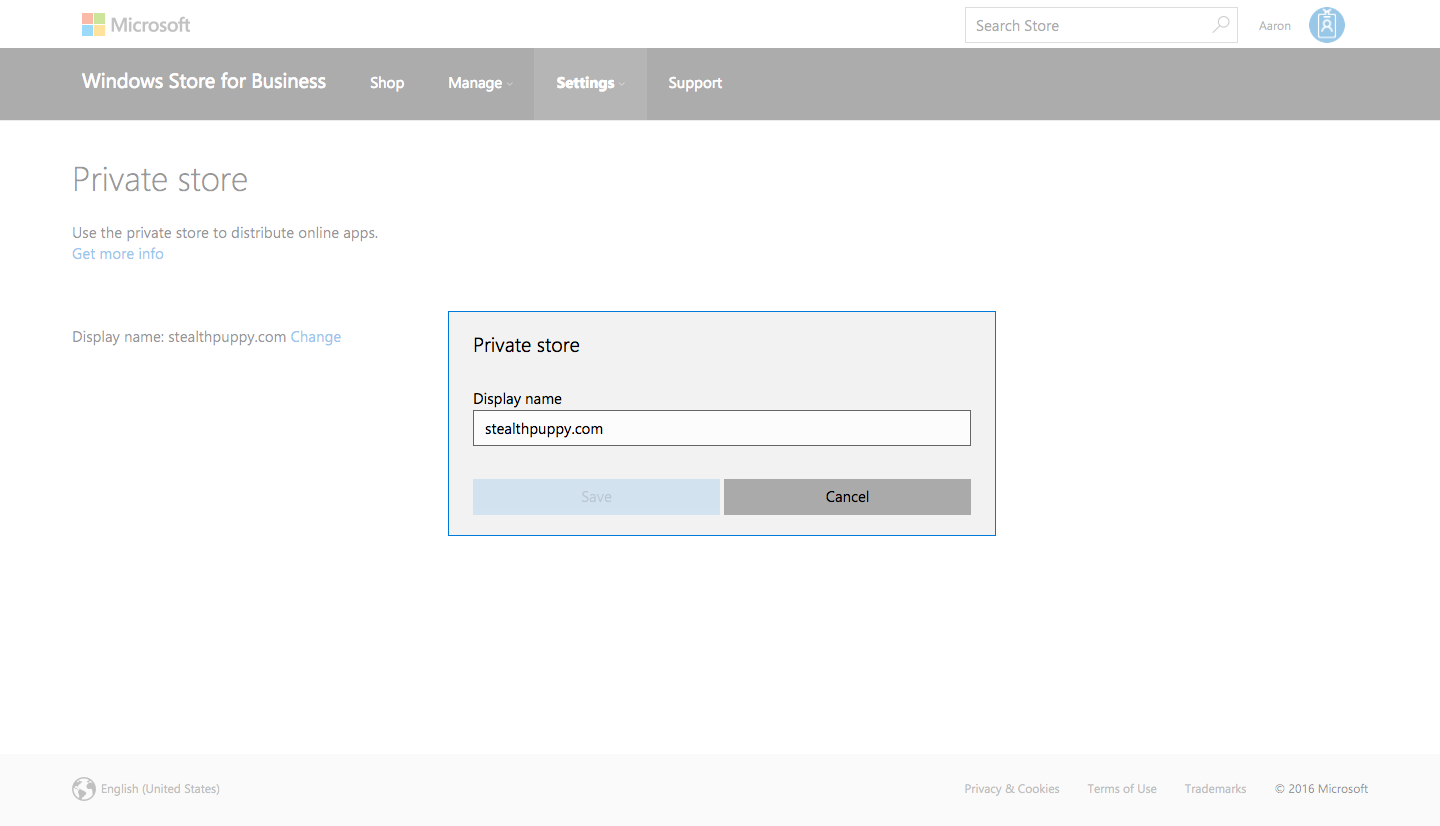
Setting the Private store display name in the Windows Store for Business
Configure the App Inventory
Next, click Manage / Inventory to view the initial app inventory. A number of the Office mobile applications will be listed and in the process of being added to the Private store. Adding apps to the Private store will take 12-24 hours to appear in the Windows Store app on user’s devices - not a short process.
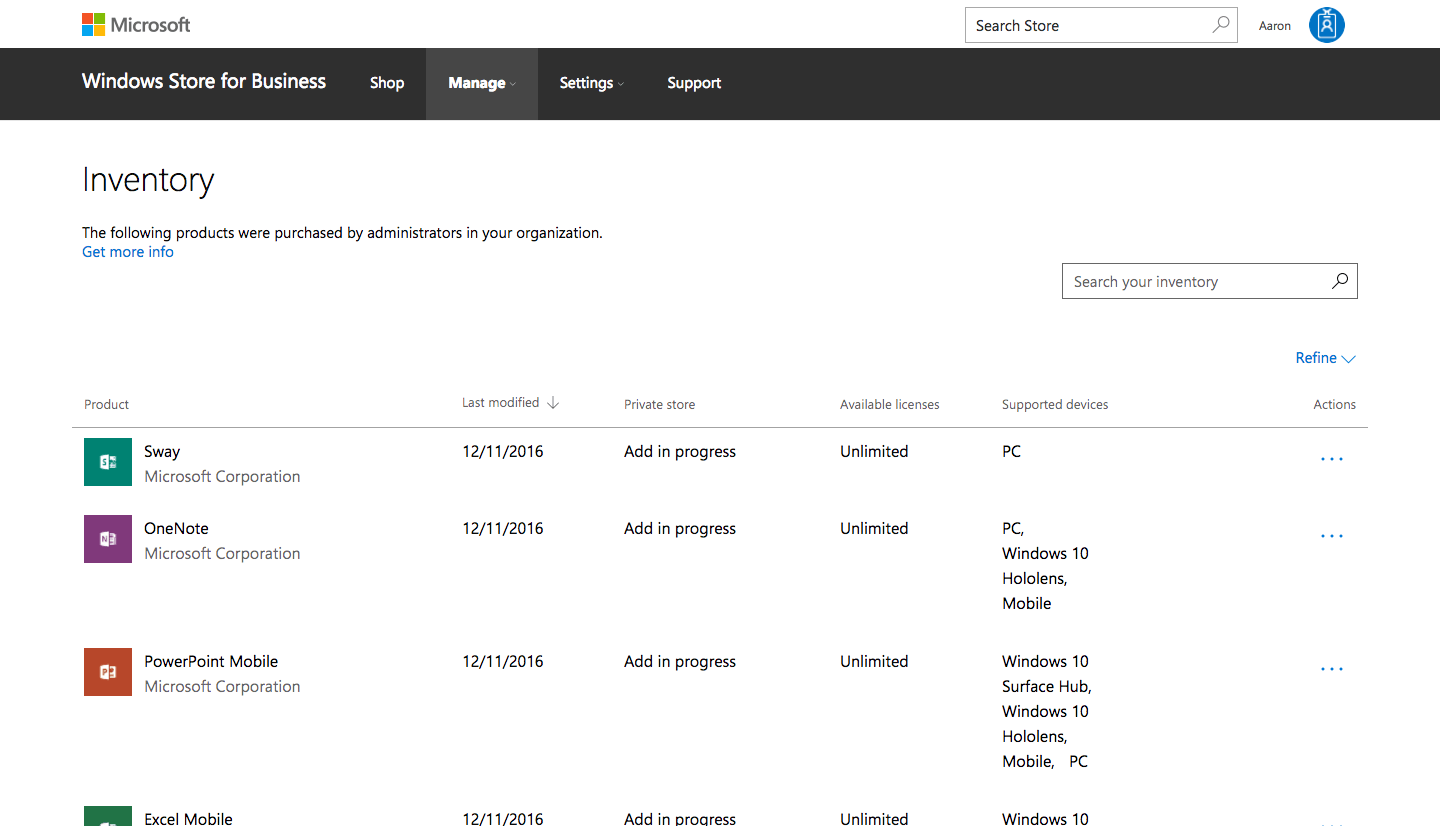
Viewing the Inventory in the Windows Store for Business
Until the ‘Add in progress’ action is complete, you cannot remove these initial apps from the Private store. Keep an eye on these once the process is complete and remove from the Private store as required.
At this point you have a number of decisions to make:
- Which Universal apps do we want to deliver to users? Don’t think about delivery mechanism at this point, just consider apps that will be useful
- Which apps do we to remove from user devices? You can target inbox apps for removal (using Intune or Configuration Manager, or a 3rd party solution)
- If you’re deploying Windows 10 Enterprise edition - will the Windows Store app be available to users? Only with Enterprise edition will you have full control over the Store app
- Which apps will be made available in the Windows Store app? If you elect to keep the Store app available, the WSfB allows IT to curate a list of apps. This would typically be a subset of the total apps in your Inventory
Add Apps to Your Inventory
Here are a few recommendations for adding apps to the Inventory, in no particular order:
- Add all of the inbox Windows 10 apps. Unfortunately, not all inbox apps are available in the WSfB. For example, the Microsoft Solitaire Collection isn’t listed
- Windows 10 and Windows 8/8.1 apps are available in the WSfB - target Windows 10 apps where possible as these will provide a more consistent user experience as they are designed for Windows 10
- While perhaps subjective, find apps that can be useful in your environment. This could be an opportunity to show what’s possible with the Universal app platform
- Don’t forget about browser extensions for Edge. These could be added to the Private store to allow users to install themselves
- Not all apps are available for the desktop - apps that work on Windows 10 Mobile are listed in the WSfB as well. This seems counterintuitive to a “Universal app platform”, but that’s the reality. If you’re managing Windows 10 mobile devices, then you’ll manage apps for all platforms from the WSfB
- The Windows Store app on Windows 10 is a little easier for finding apps including finding apps from a specific developer. You can then search for those apps in the WSfB.
Managing Apps
Once you have a reasonable number of apps, management can become a little cumbersome, use the search feature or the Refine dropdown to filter apps. Here I’ve filtered by only those apps added to the private store.
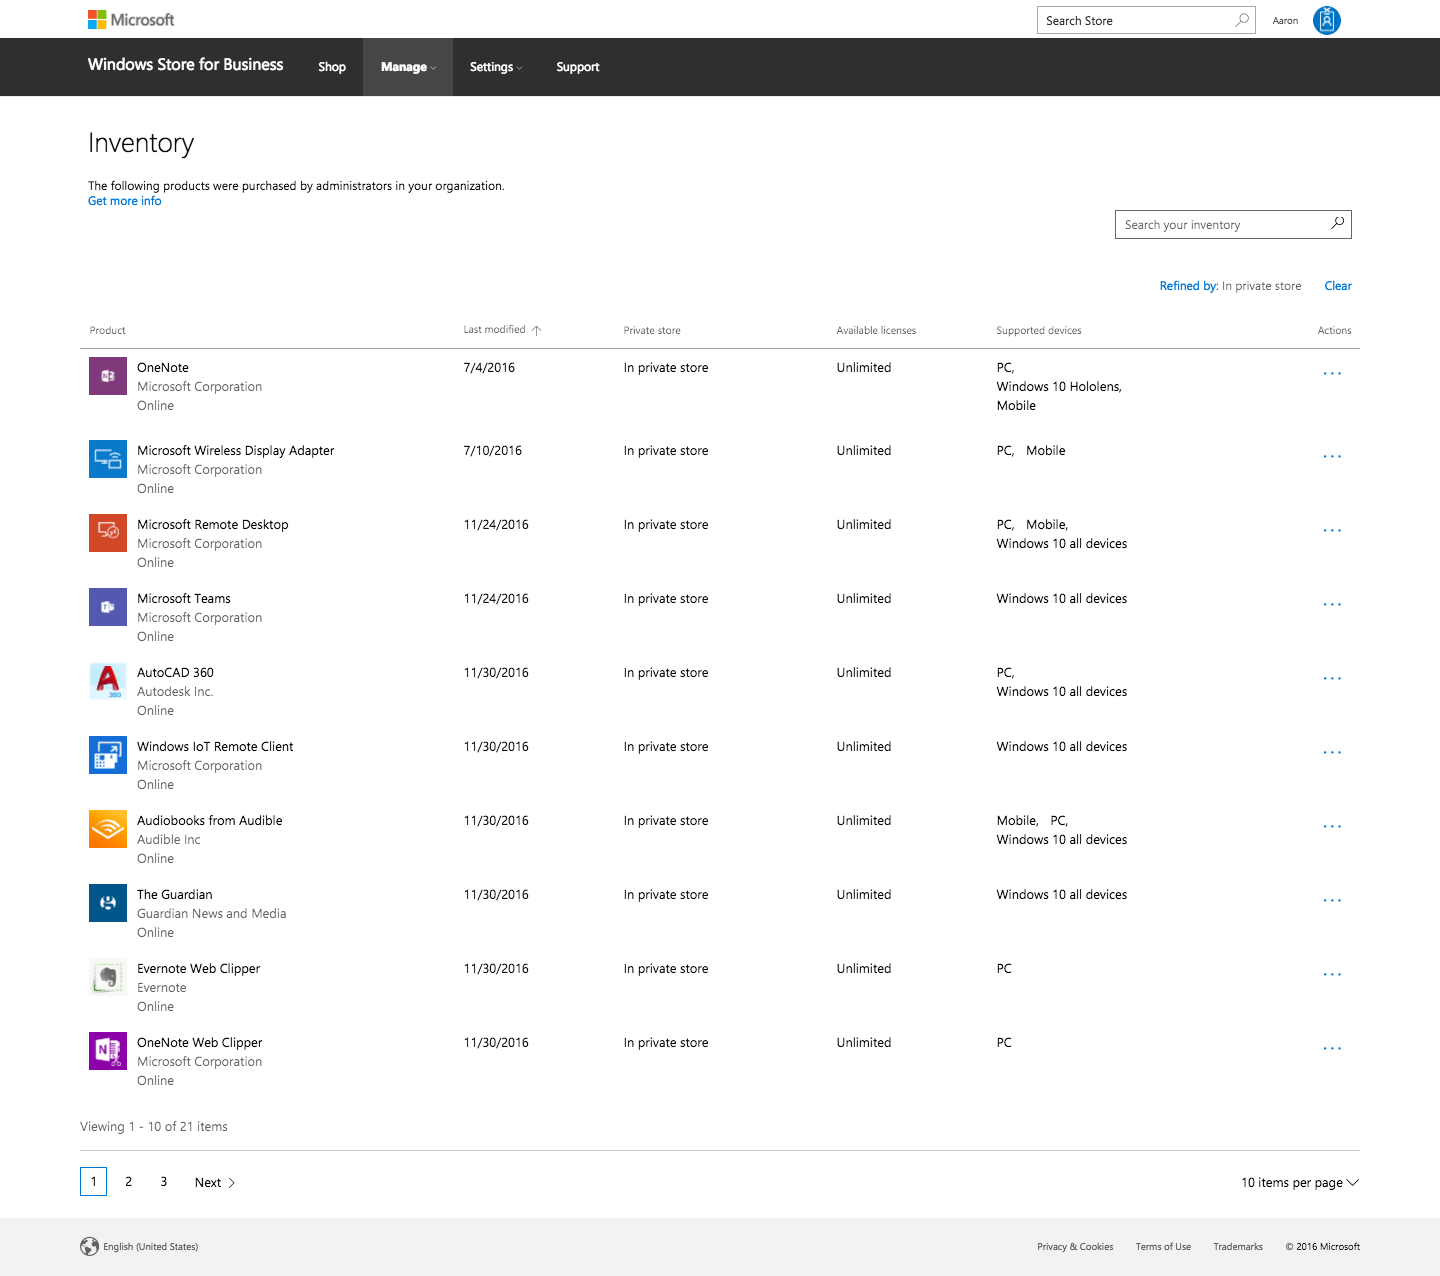
Filtering on apps in the Private store in the Windows Store for Business
As mentioned above, add those apps to the Inventory that you want to target for removal from end-user devices. This includes the inbox apps and those that appear by default on the Start menu. This will provide the opportunity to target apps for removal using device management tools.
Add even unwanted apps to the Windows Store for Business
Assigning Apps
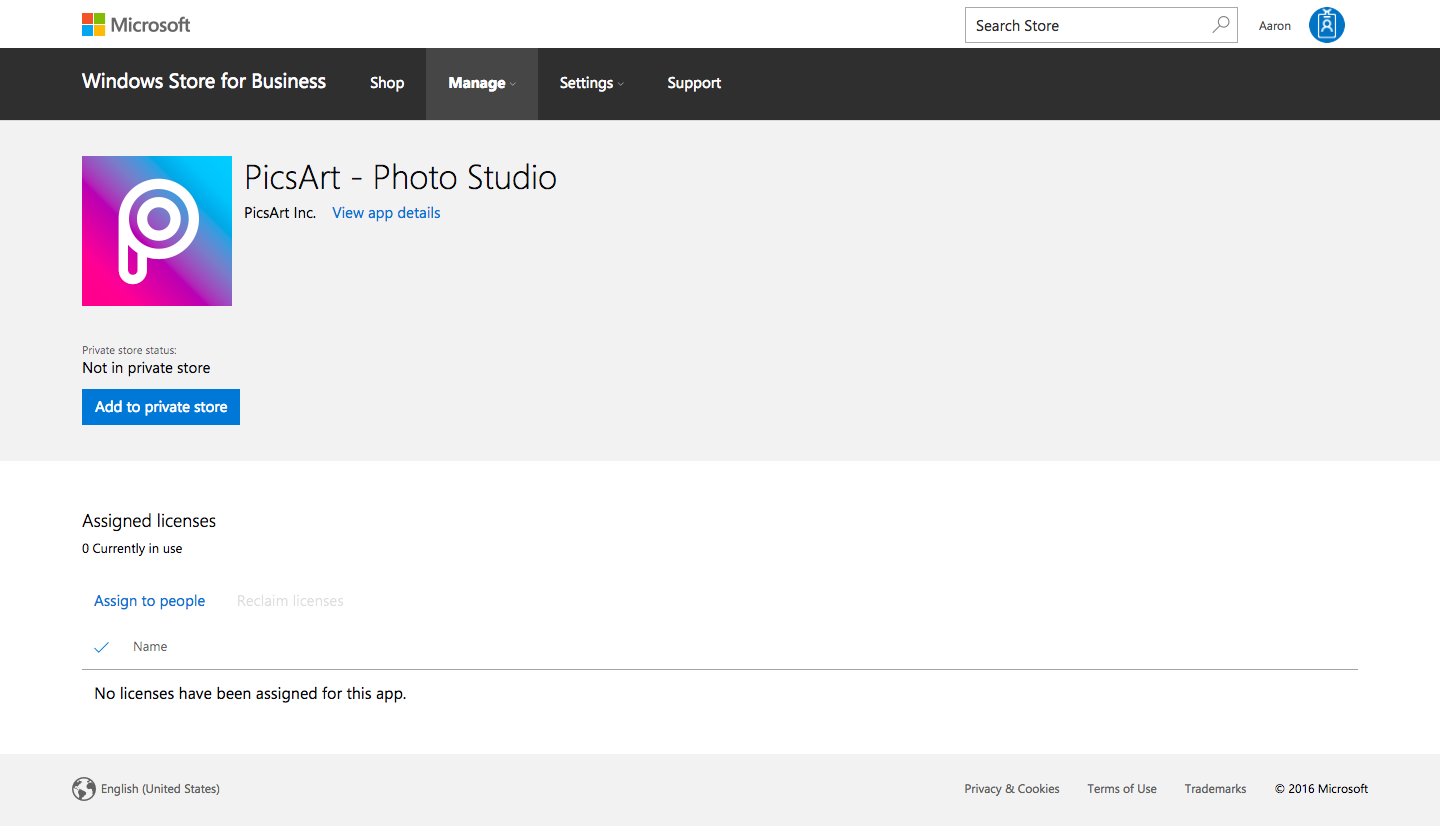
Applications can be assigned to people (and licenses managed) from the Window Store for Business. However, this is largely not scaleable as only individual users can be selected.
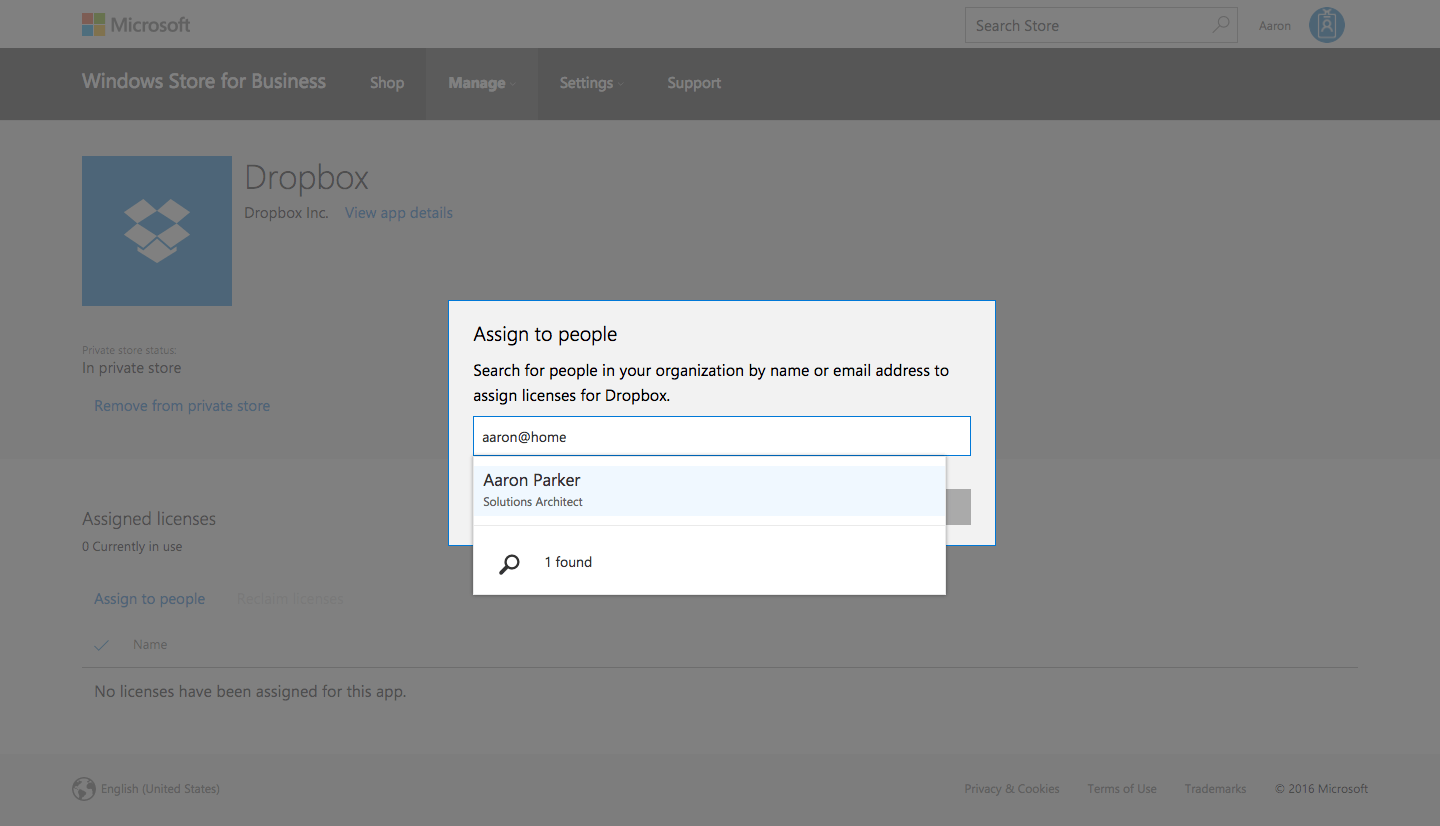
Assigning an app in the Windows Store for Business
From a user experience perspective, apps are also not automatically assigned, instead the user will receive an email with a link to the apps which opens in the Store, or assigned apps can be viewed and installed from the My Library section in the Store app.
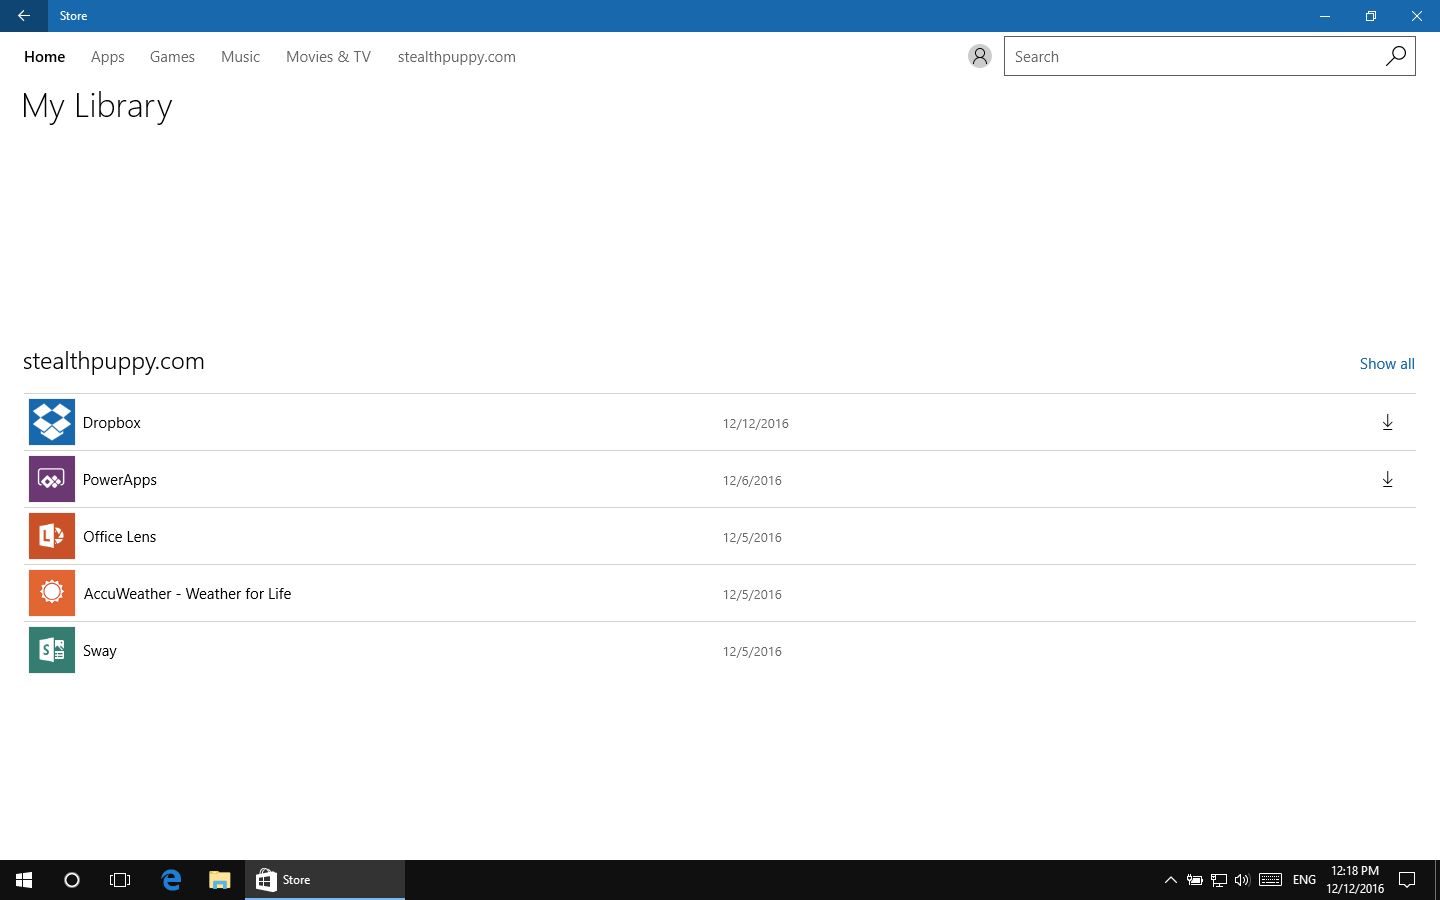
My Library in the Windows 10 Store app
A better approach will be to use a management tool that enables automatic deployment (or removal) of apps to users or devices, which I’ll cover in upcoming articles.
Conclusion
For existing enterprises moving to Windows 10, extending your on-premises identity into Azure AD and configuring the WSfB are important steps for managing the user experience on Windows 10. The Universal app platform shows promise from an application lifecycle management perspective and getting ready to deploy these apps on Windows 10 is considerably simpler than other mobile app platforms.
I’ve not covered online or offline Universal app deployment or VDI/SBC use-cases in this article, but I will cover integration of the Windows Store for Business with device management solutions in future articles.
Read the next article for details on managing Universal apps with Microsoft Intune.