Enabling Modern Authentication for Office

- Enabling Modern Authentication
- Desktop Configuration
- Single Sign-on with Azure AD Connect
- User Experience
- Conclusion
Enabling Azure AD and Office 365 features including multi-factor authentication and Conditional Access will impact your users because they’ll need utilise App Passwords (one time passwords used for authentication with legacy applications). Unfortunately this will only serve to confuse users and result in calls to your service desk. Modern authentication is, of course, the way to improve user experience but it’s not enabled by default.
Enabling Modern Authentication
Office applications previous to 2013 aren’t capable of modern authentication, but if you’re deploying Office 365 your likely deploying Office 365 ProPlus - 2013 or later. However it’s not enough just to deploy a recent version of Office, modern authentication (or OAuth) needs to be enabled in your tenant. Microsoft has described how modern authentication works in Office 2013 and 2016 client applications. In that article we can see that modern authentication is:
- Turned off for Exchange Online by default.
- Turned on for SharePoint Online by default.
- Turned off for Skype for Business Online by default.
Why this is, I’m not sure, but you’ll need to enable modern authentication for Exchange Online and Skype for Business for this feature to work on the client end.
Enabling Modern Authentication for Exchange Online
Full details for enabling modern authentication are available in this article for Exchange Online from Microsoft; however here’s the short version. You’ll need to first install the Azure AD PowerShell module. Then connect to your Office 365 tenant and enable OAuth with Set-OrganizationConfig, via the following code:
$Cred = Get-Credential
$Session = New-PSSession -ConfigurationName Microsoft.Exchange -ConnectionUri https://outlook.office365.com/powershell-liveid/ -Credential $Cred -Authentication Basic -AllowRedirection
Import-PSSession $Session
Set-OrganizationConfig -OAuth2ClientProfileEnabled $true
Enabling Modern Authentication for Skype for Business Online
Configuring Skype for Business Online first requires installing the Skype for Business Online PowerShell Module which you’ll need to download and install, rather than install from the PowerShell Gallery. Then like Exchange, connect to your Office 365 tenant and enable OAuth with Set-CsOAuthConfiguration.
$Cred = Get-Credential
$session = New-CsOnlineSession -Credential $cred -Verbose -OverrideAdminDomain home.stealthpuppy.com
Import-PSSession $Session
Set-CsOAuthConfiguration -ClientAdalAuthOverride Allowed
In my environment, the admin account I’m using has a different domain to the domain used by Skype for Business, hence I’ve added the OverrideAdminDomain parameter. For more complex scenarios with ADFS, you may need to consult this article: How to use Modern Auth. (ADAL) with Skype for Business.
Now with your tenant configuration complete, you may need to enable single sign-on with Azure AD Connect.
Desktop Configuration
Note that this article lists required registry configuration to enable modern authentication for the Office 2013 desktop applications. This can be set via Group Policy preferences or any 3rd party UEM product. Office 2016 desktop applications should work without this configuration explicitly set; however, if you do set these keys for Office 2016, change 15 to 16 in the key path.
| KEY VALUE | TYPE | DATA | FIELD4 |
|---|---|---|---|
| HKCU\SOFTWARE\Microsoft\Office\15.0\Common\Identity | EnableADAL | REG_DWORD | 1 |
| HKCU\SOFTWARE\Microsoft\Office\15.0\Common\Identity | Version | REG_DWORD | 1 |
Single Sign-on with Azure AD Connect
If you’ve deployed Active Directory Federation Services (ADFS), single sign-on should already be enabled and users should see applications such as Outlook auto-configure and sign in automatically; however, if you only have AD Connect and rely on Azure AD directly for authentication, you can enable Pass-through Authentication and Single Sign-On with AD Connect version 1.1.484.0 or above.
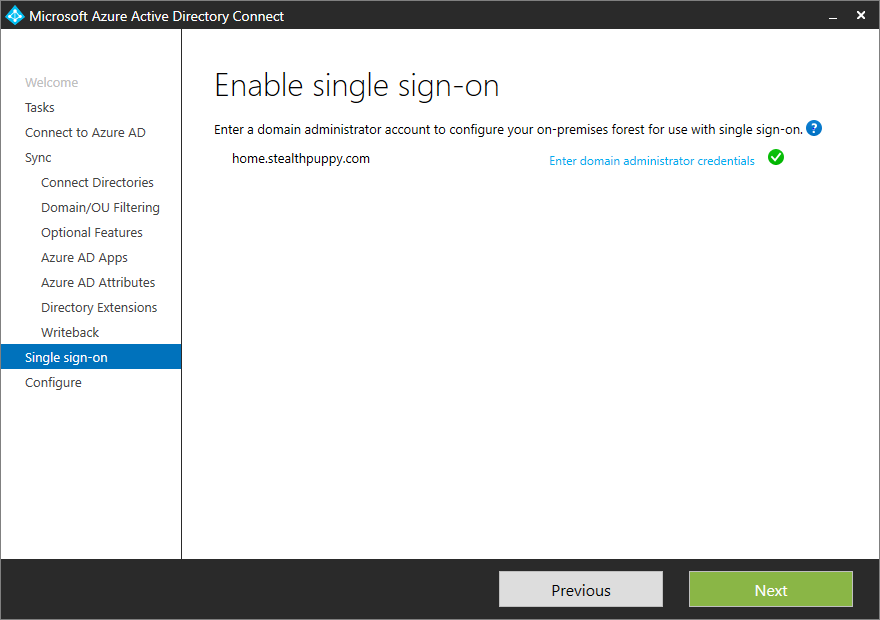
AD Connect Single Sign-On for Modern Authentication
Full details for enabling this configuration are available in this article: Azure Active Directory Seamless Single Sign On. With only AD Connect and Azure AD (instead of with ADFS), the steps for deploying this configuration are surprisingly simple and elegant.
User Experience
Now that the configuration is complete, we can see that from the user perspective applications receive single sign-on to the Office 365 services. In these examples, I’ve configured MFA in Azure AD to not prompt users when behind a Trusted IP range, otherwise if applications are started for the first time from another location, the user will see the modern authentication prompt, optionally with MFA.
Outlook
When starting Outlook for the first time, the user sees the initial configuration wizard, but can click Next through the wizard without entering account details manually.
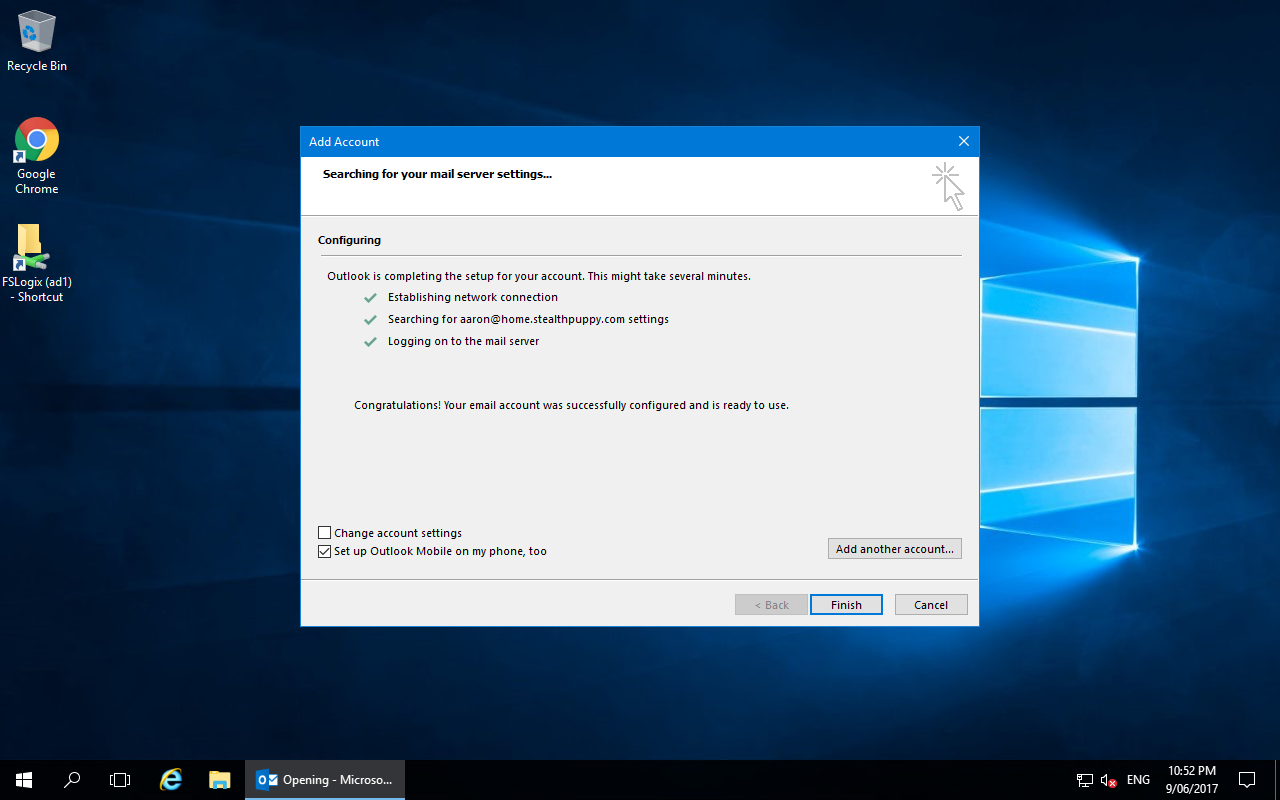
Outlook auto-configuration with modern authentication complete
Activating Office 365 ProPlus will still require the user to manually enter their email address.
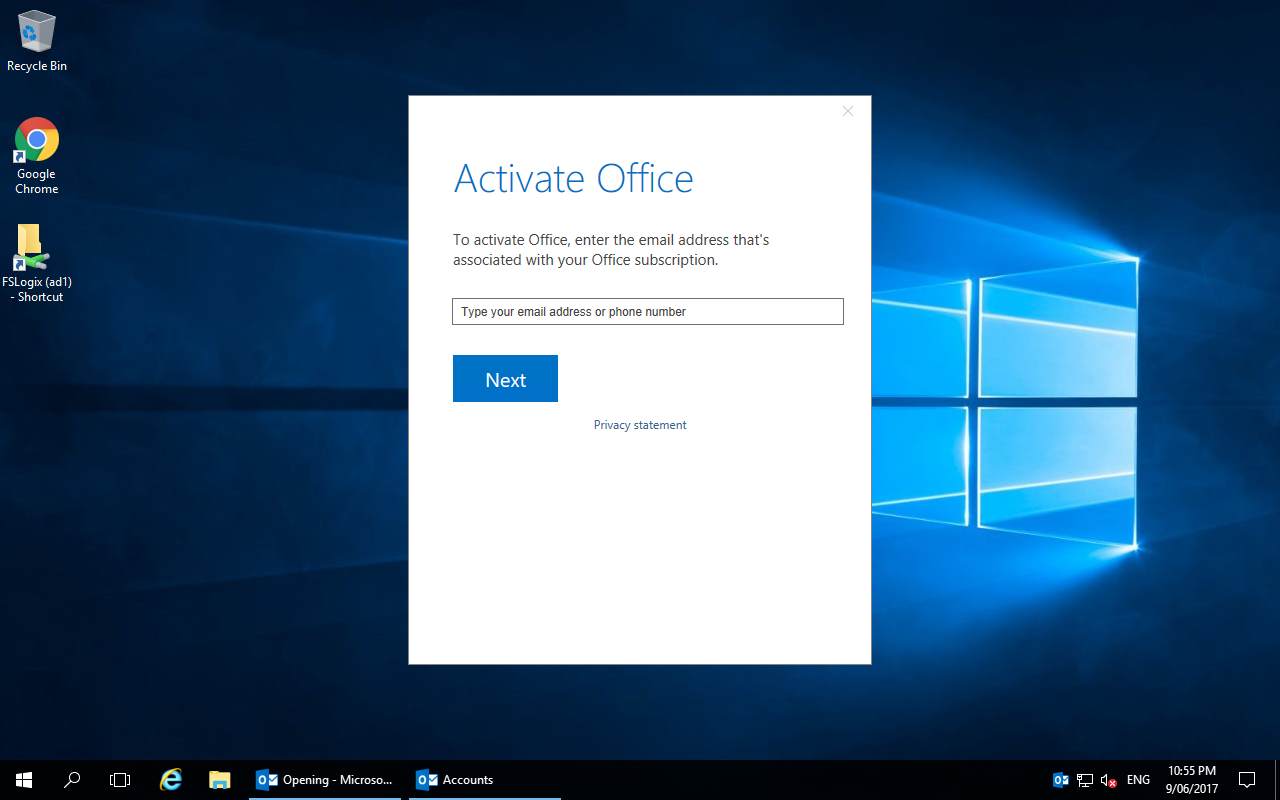
Office activation unfortunately isn’t auto-configured
Skype for Business
Skype for Business will prompt for a username or sign-in address; however, then click on Sign In, the user is not prompted to authenticate to Skype for Business Online.
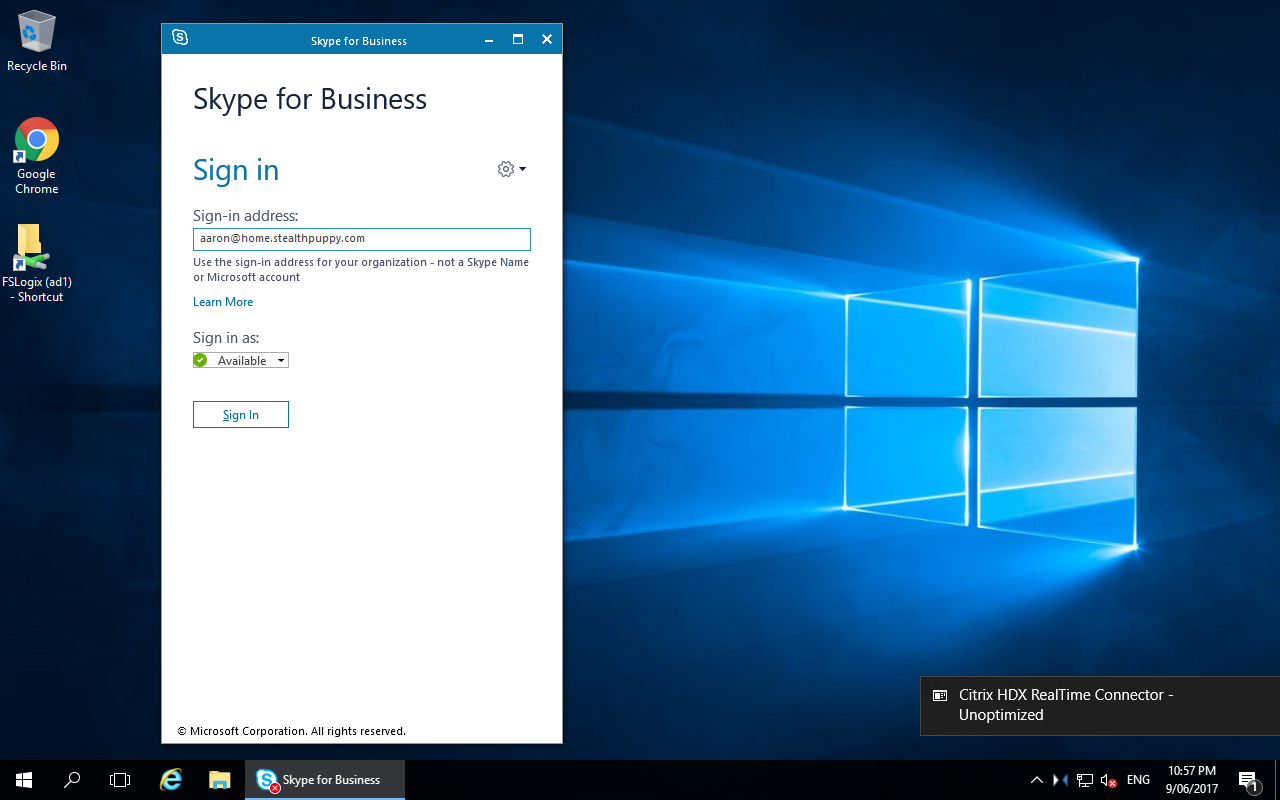
Skype for Business - enter your email address
OneDrive for Business
Similarly for OneDrive for Business - the user is required to enter their email address and click Sign in, but no further authentication prompts are seen.
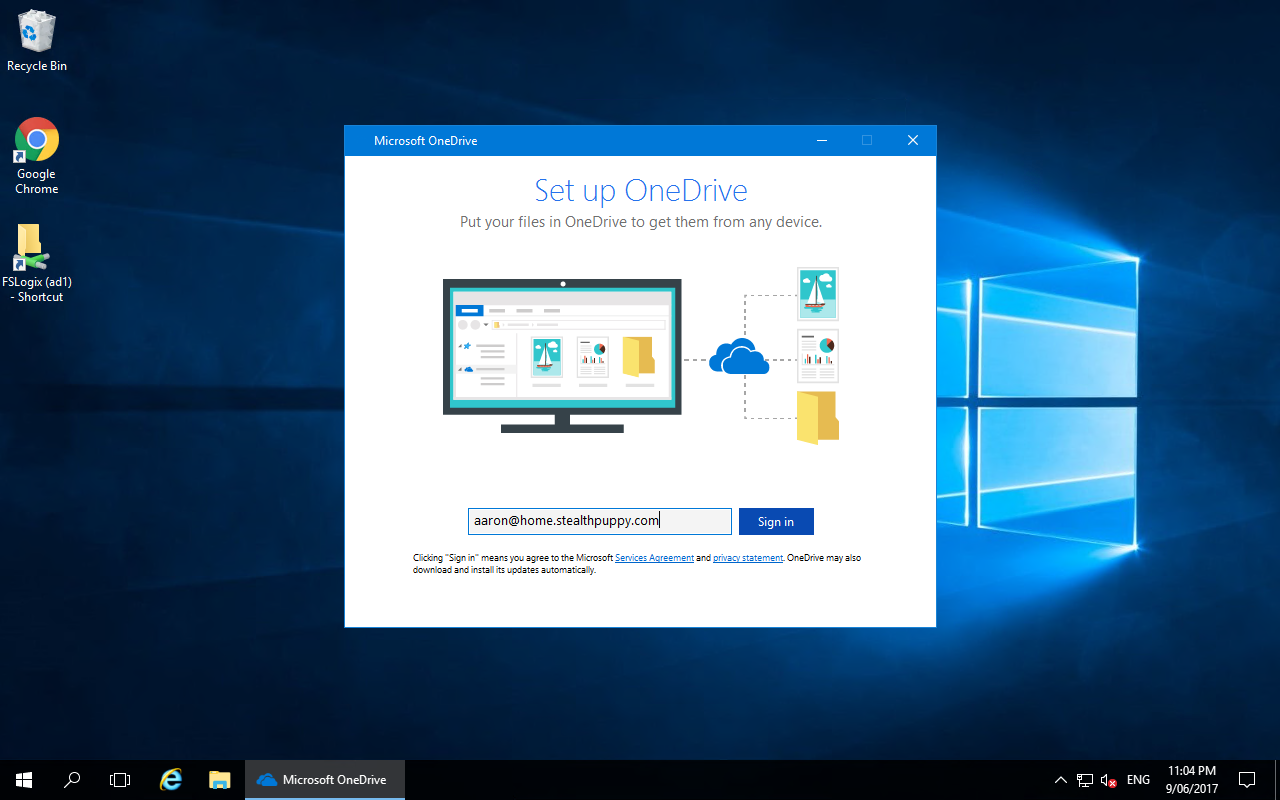
OneDrive for Business - enter your email address
Conclusion
With a few simple steps we’ve provided users with a better authentication experience in less time that it’s taken me to write this article.
