Automating the XenDesktop 7 Virtual Desktop Agent Installation
Citrix provides a nice wizard for installing the XenDesktop 7 VDA and some pretty good documentation on using a command line installation, but the wizard does not expose all of the available options and working out what the wizard is doing in relation to the command line takes a bit of translation. Here’s how to automate a typical VDA deployment.
I usually use a batch file to deploy components, so the commands I’ve listed here assume you’ll be using a batch file too. To make the batch file easier to read, I place all command line options in an environment variable named OPTIONS. To start with, I’m going to set a couple of items that will enable an unattended deployment:
SET OPTIONS=
SET OPTIONS=/QUIET
SET OPTIONS=%OPTIONS% /NOREBOOT
When running the wizard, you’re first asked whether you’re deploying to a master image, or a persistent virtual machine/physical PC.
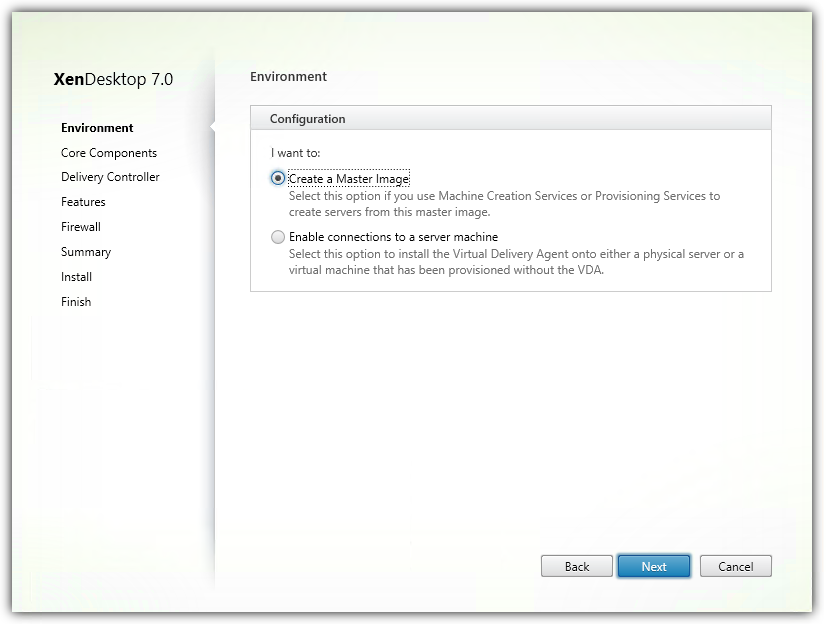
In this example, I’m deploying to a master image, so I’ll set the MASTERIMAGE flag:
SET OPTIONS=%OPTIONS% /MASTERIMAGE
The next page lists the options to install the VDA and optionally Receiver:
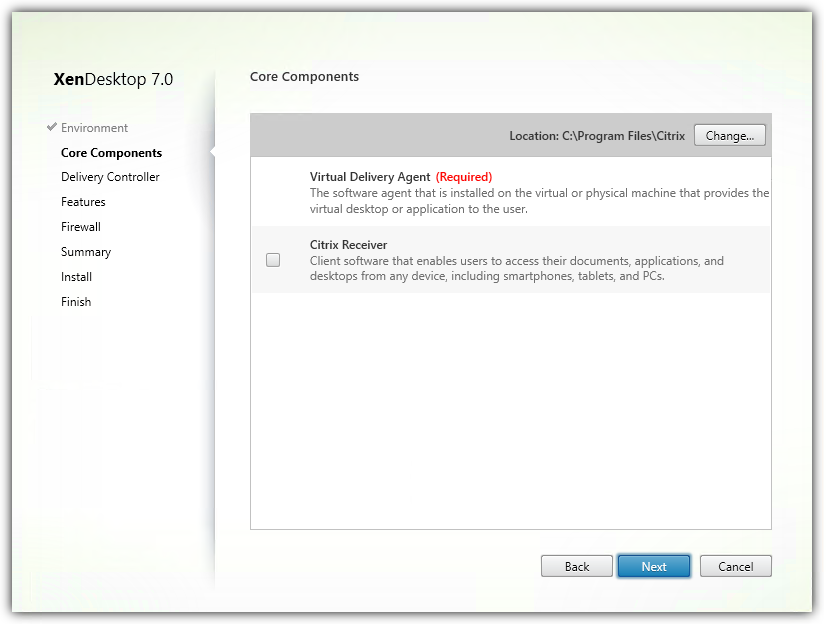
I’m just looking to install the VDA, but I could also install Receiver, by adding PLUGINS to the COMPONENTS option:
SET OPTIONS=%OPTIONS% /COMPONENTS VDA
Next up is configuring the location of the Delivery Controllers.
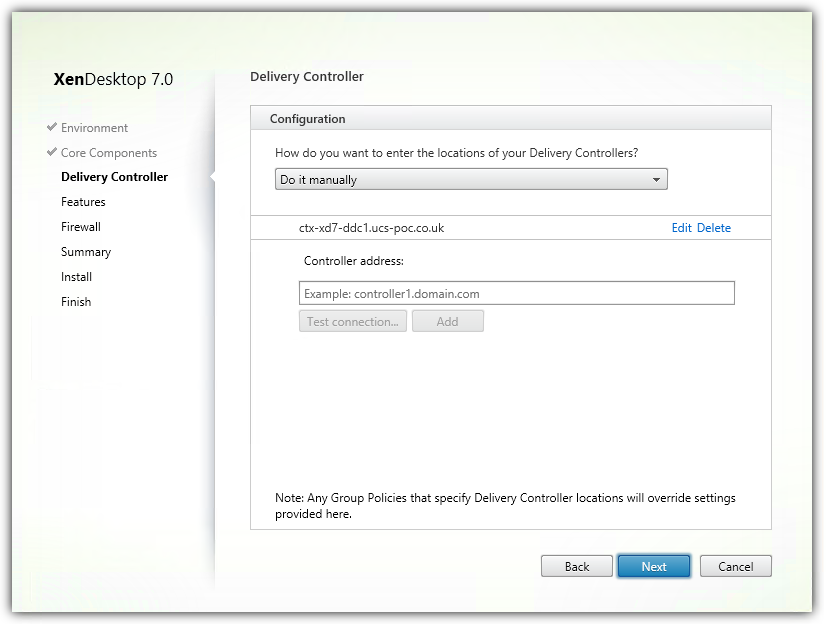
I’m going to specify a static list of Controllers using the aptly named CONTROLLERS property:
SET OPTIONS=%OPTIONS% /CONTROLLERS "ctx-xd7-ddc1.lab.com,ctx-xd7-ddc2.lab.com"
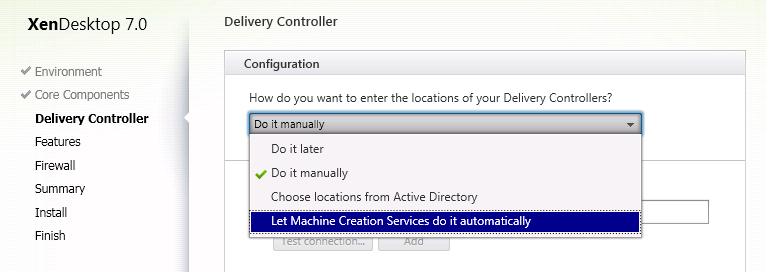
There are additional options at this point and the recommended approach is to specify the XD site GUID using SITE_GUID (this is the same as ‘Choose locations from Active Directory’ shown below). Don’t use CONTROLLERS and SITE_GUID at the same time.
The last option - ‘Let Machine Creation Services do it automatically’ doesn’t appear to be available as a command line option. From the command line perspective, I assume this is the same as not specifying CONTROLLERS or SITE_GUID at all.
The Features page lists a few options that look completely unrelated, but I assume they need to go somewhere.
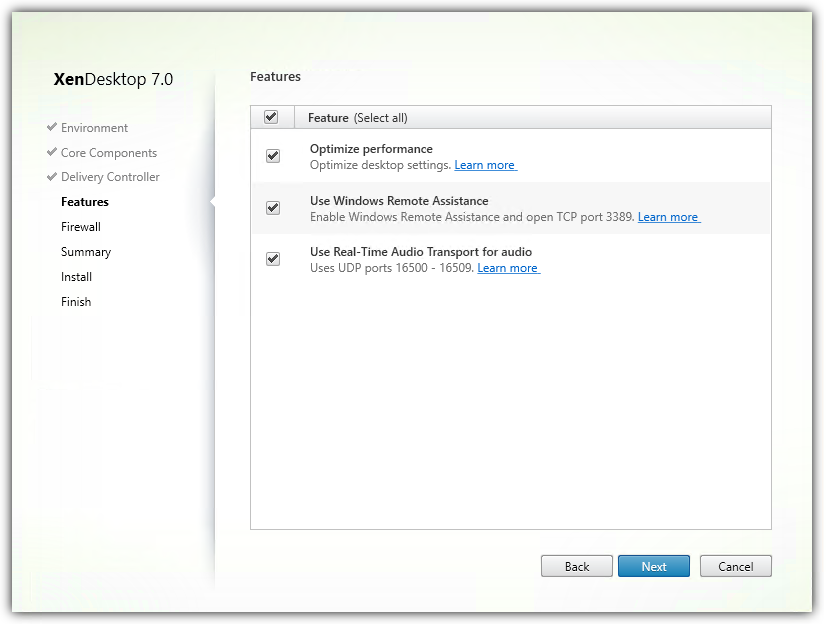
Each feature has its own command line option. In my case, I don’t really need to add the option for Remote Assistance, because I’ve used an automated deployment that has already enabled that feature, but it doesn’t hurt to enable the option anyway.
SET OPTIONS=%OPTIONS% /OPTIMIZE
SET OPTIONS=%OPTIONS% /ENABLE_REMOTE_ASSISTANCE
SET OPTIONS=%OPTIONS% /ENABLE_REAL_TIME_TRANSPORT
The VDA requires several inbound ports for core features to work.
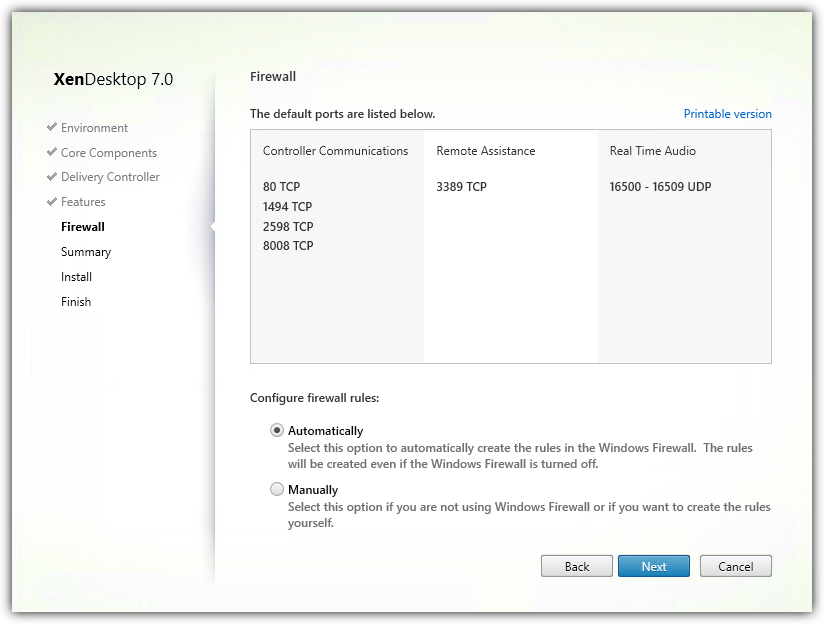
Fortunately, Windows Firewall configuration is simple using the ENABLE_HDX_PORTS flag:
SET OPTIONS=%OPTIONS% /ENABLE_HDX_PORTS
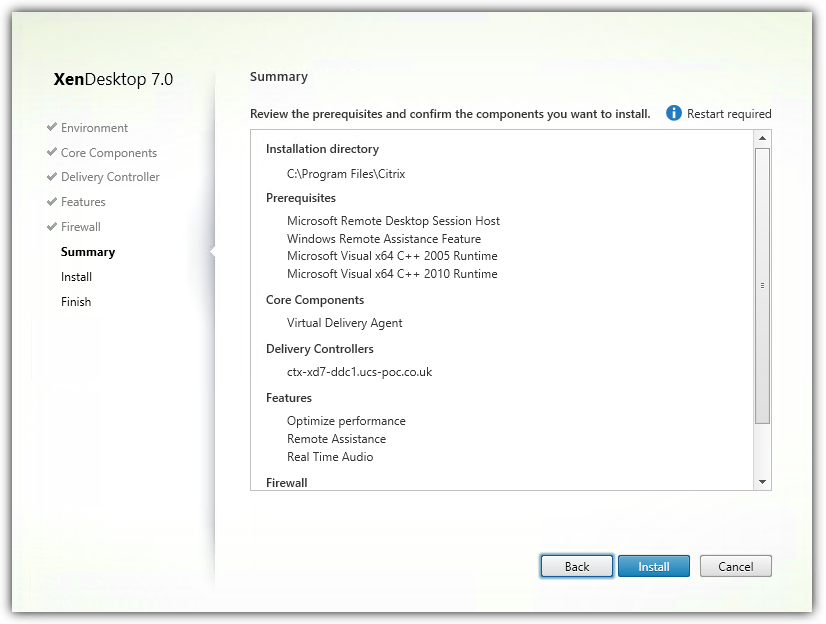
Finally then, a summary of what the wizard is about to install and configure. It’s worth pointing out that for Windows Server workloads, you will need to install the Remote Desktop Session Host before installing the VDA. If the RDSH role is not installed, setup will install it and reboot the server. This will potentially break your automated deployment; however, if you’ve used the right approach and automated the deployment of Windows, then this role will already be enabled.
With my script created now, I can automate the deployment of the VDA as a component of automating the entire deployment of the master image. Here’s a sample script that will use the options listed above for 32-bit or 64-bit platforms.
SET OPTIONS=
SET OPTIONS=/QUIET
SET OPTIONS=%OPTIONS% /NOREBOOT
SET OPTIONS=%OPTIONS% /MASTERIMAGE
SET OPTIONS=%OPTIONS% /COMPONENTS VDA
SET OPTIONS=%OPTIONS% /CONTROLLERS "ctx-xd7-ddc1.lab.com,ctx-xd7-ddc2.lab.com"
SET OPTIONS=%OPTIONS% /OPTIMIZE
SET OPTIONS=%OPTIONS% /ENABLE_REMOTE_ASSISTANCE
SET OPTIONS=%OPTIONS% /ENABLE_REAL_TIME_TRANSPORT
SET OPTIONS=%OPTIONS% /ENABLE_HDX_PORTS

IF "%PROCESSOR_ARCHITECTURE%"=="AMD64" PUSHD "x64\XenDesktop Setup"
IF "%PROCESSOR_ARCHITECTURE%"=="x86" PUSHD "x86\XenDesktop Setup"
START /WAIT XenDesktopVDASetup.exe %OPTIONS%
In the lab, I’ve imported a full copy of the XenDesktop 7 ISO into my MDT deployment share, where I’ve configured install scripts for Controllers (with Studio and Director), StoreFront and various flavours of VDA deployments (desktop, server, physical PCs etc).
The documentation is quite clear and easy to understand; however there’s a few options that I would recommend having clear understanding of what they enable:
- OPTIMIZE - this option will optimise the base image for a virtual machine using the changes outlined in this support article: How to Optimize XenDesktop Machines. I would recommend understanding clearly what each change does and removing this option if you have implemented your own optimisations.
- NODESKTOPEXPERIENCE - I utilise my own solution for making a Windows Server look like a desktop OS and would generally leave this out as a result. This enables the default Citrix wallpaper, which is pretty horrible.
- BASEIMAGE - this will enable PVD support. Use at your own risk 😉
- PORTNUMBER - using a custom port for the VDA other than the default TCP 80, requires installing the VDA and then re-rerunning setup to specify a different port.
There’s not much different here to previously releases, but I would like to see Citrix add all options to the wizard and then provide the command line, based on what you’ve selected, at the end to lower the barriers to automation even further.